

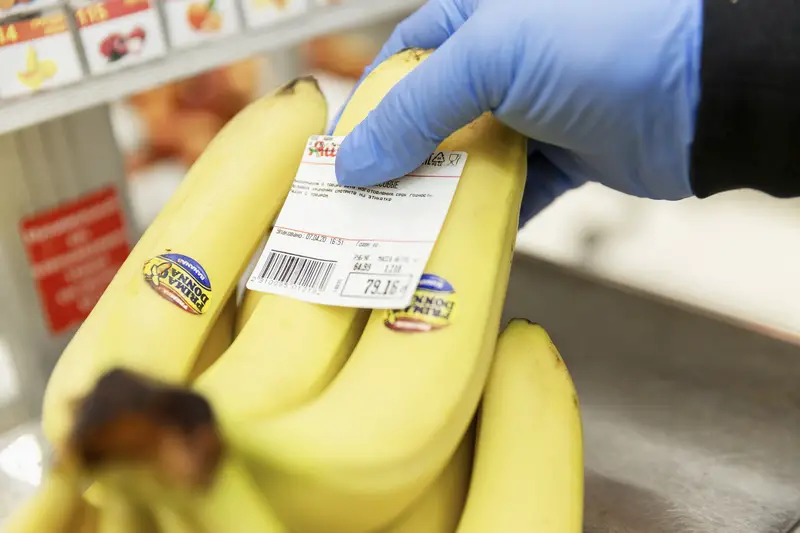
You buy a bunch of bananas on Sunday. By Wednesday they look fine. By Friday they’ve got brown freckles, and by the weekend they’re mushy sad things you feel guilty about tossing. Sound familiar? You are not alone. Bananas are one of the fastest-spoiling things in most American kitchens, and most people just accept it as the price of buying them.
But there’s a fix that costs almost nothing and takes about thirty seconds. It’s a little strange looking, your family might ask what you’re doing, and it actually works. Grocery stores have been quietly using it for years. Here’s the whole thing, plus a few bonus tricks that stretch your bananas even further.
The trick: wrap the stems in plastic wrap
That’s it. Tear off a small square of plastic wrap and cover the top of the banana bunch, right where the stems come together. That green knobby part at the top is where most of the action happens. You don’t need much. A little square that covers the crown does the job.
The idea got popular thanks to a cook and blogger named Kristen who runs The Frugal Girl. She started separating her bananas and wrapping each stem, and people noticed their fruit was lasting way longer than the usual five to seven days. Some folks report getting seven to ten extra days out of a bunch. Others stretch it toward two full weeks. Your mileage depends on how ripe the bananas were when you bought them.
Why a piece of plastic makes such a big difference
Bananas ripen because they give off a gas called ethylene. It’s a natural plant hormone, colorless, and you can’t smell it. The more ethylene floating around a banana, the faster it turns from firm and yellow to soft and brown. And here’s the kicker: bananas feed off their own gas. One ripe banana pumps out ethylene that tells the bananas next to it to hurry up and ripen too. It builds on itself in a loop, which is why a whole bunch seems to go soft all at once.
Most of that gas escapes from the stem, the exact spot you’re covering. When you cap the stem with plastic, you trap a big chunk of the ethylene right where it comes out instead of letting it drift down over the rest of the fruit. One expert put it well: you’re turning the volume down, not turning it off. The bananas still ripen. They just do it in slow motion.
Worth a quick honesty note here. Some food scientists say the “all the gas comes from the stem” idea is a little oversimplified and up for debate. But real kitchen tests keep showing the same thing: wrapped stems slow ripening by a noticeable amount. Whatever the exact chemistry, the plastic square earns its keep.
Wrap each banana on its own for the best results
You can wrap the whole crown as one clump, and that helps some. But if you want the method that really holds up, pull the bananas apart at the top and give each one its own little plastic cap. It takes an extra minute, and it’s the difference between good and great.
Why bother? Because if you wrap the bunch together, all it takes is one banana slightly ahead of the others. That riper banana keeps pushing ethylene into its neighbors from the inside of the group, and the plastic on the outside can’t stop it. Wrapping them one at a time keeps the fast one from dragging the whole crew down with it. You only need a small square per banana, so you’re not burning through a roll of plastic.
Separating them also helps in another way. When bananas aren’t touching, the gas they do give off just disperses into the open air instead of pooling up in a tight little cluster. So spreading them a few inches apart on the counter buys you a bit more time on top of the wrapping.
The two-stage move that gets you to weeks
Wrapping the stems is stage one, and it happens on your counter. Stage two is the fridge, and this is where people mess up because they think you can never refrigerate a banana. You can. You just have to wait for the right moment.
Once your wrapped bananas hit that perfect shade of yellow you actually want to eat, move them into the refrigerator. The peel will keep darkening. It might turn brown, it might even go black, and that freaks people out. Ignore it. The fruit inside stays firm, sweet, and totally good to eat. The cold basically presses pause on the ripening while the peel takes the hit for the team. Judge them by feel and smell, not by how the skin looks.
Stack the two stages together and you’ve got a chain: slow them down on the counter with plastic, then park them cold once they peak. That combo is how a bunch that normally lasts under a week can stretch into weeks. Just don’t put green bananas in the fridge. Cold below roughly 55 degrees stops unripe bananas cold and can leave them stuck, so let them yellow up first.
The stores were doing this before you were
Ever grabbed a bunch at the store and noticed the stems already had plastic wrapped around them? That’s not decoration and it’s not random. Some grocery chains wrap the stems on purpose to cut down on ethylene and keep the fruit looking fresh longer on the shelf. It’s a cheap way for them to lose fewer bananas to spoilage.
So really you’re just copying a store trick and running it at home. If you want a head start before you even touch the plastic wrap, buy the greenest bananas you can find. Green ones are further from ripe, which hands you a few extra days right off the bat. Grabbing the yellow spotted ones because they look nice is how you end up racing the clock.
Need them ripe faster? Do the opposite
Sometimes you’ve got the reverse problem. You bought green bananas and you want banana bread tonight. Same science, flipped around. Toss the green bananas in a brown paper bag with an apple and let them sit at room temperature for a day or two. The apple gives off its own ethylene, the bag traps all that gas around the fruit, and everything speeds up.
Check the bag every day so you don’t overshoot. Once they hit the ripeness you want, pull them out and wrap the stems to hold them there. You basically hit the gas, then hit the brakes. Handy when you’re trying to line up ripeness across a busy week instead of eating four bananas in one day.
A couple of odder tricks people swear by
Plastic wrap is the cheapest, fastest, least fussy option, which is why it wins for most people. But it’s not the only way. Some folks wrap each banana loosely in newspaper and set them in a basket that gets good airflow. The paper soaks up extra moisture and traps some gas, and fans of the method say it can add a week or more.
Then there’s the extreme version: dripping melted candle wax over the cut stem to make an airtight cap. It builds a stronger seal than plastic, but it’s a lot more work and kind of messy. If you like a project, go for it. For everyone else, the plastic square does 90 percent of the job with none of the hassle. Aluminum foil works about as well as plastic if that’s what you have on hand.
When they finally go brown, don’t toss them
Even with every trick in the book, some bananas will eventually get soft and freckled. That’s not the end. Soft, spotty bananas are actually sweeter, which makes them perfect for banana bread, muffins, or smoothies. The ugly ones are the good ones for baking.
If you’re not ready to bake, the freezer is your friend. Peel the ripe ones first, because frozen peels turn dark and get really annoying to remove. Lay the peeled bananas in a single layer on a parchment-lined sheet, freeze them solid, then dump them into a zip-top bag. Freezing them flat first keeps them from clumping into one giant frozen brick. They’ll keep for months and blend straight from frozen into smoothies, no thawing needed.
So the whole system comes down to this. Wrap the stems, keep them apart, refrigerate once they peak, and freeze the stragglers. A roll of plastic wrap you already own turns bananas from a countdown into something you actually finish before they go bad. Give it a shot on your next bunch and see how long they hold.
