

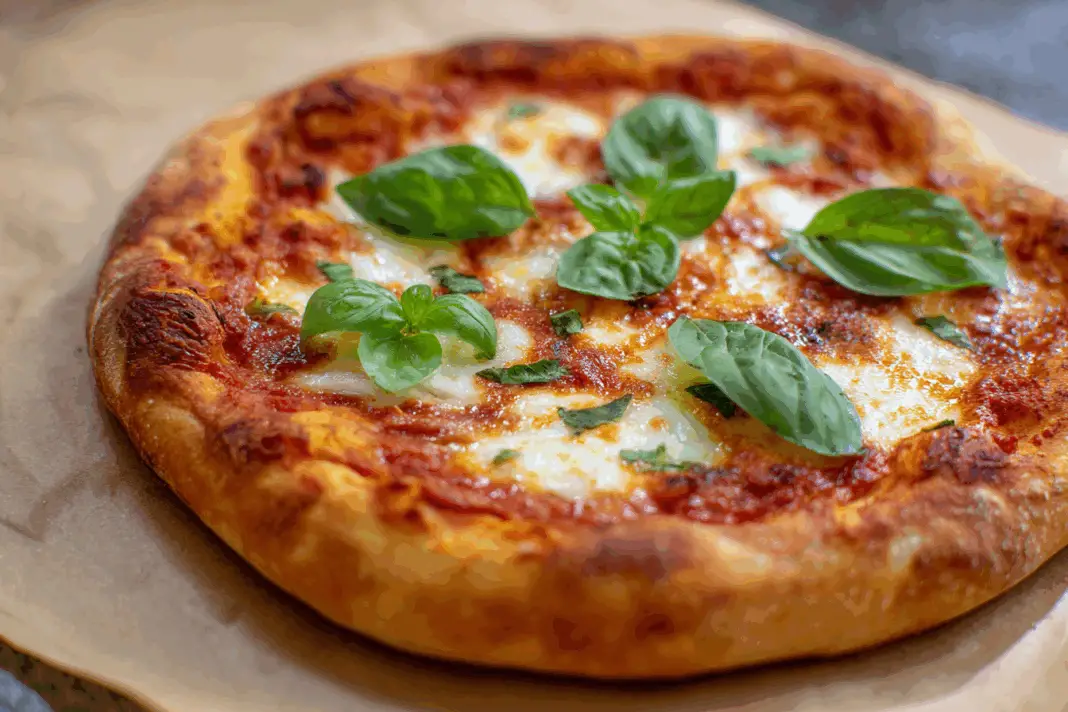
Most people think making pizza at home means settling for thick, doughy crusts and bland cheese. The truth is, restaurant-quality Margherita pizza is totally achievable in your regular kitchen oven. With the right techniques and a few insider tricks, homemade pizza can actually taste better than what most pizza places serve. The secret lies in understanding how heat, timing, and simple ingredients work together to create that perfect combination of crispy crust and melted cheese.
Most people skip the pizza stone step
Walking into any kitchen store, pizza stones sit on shelves looking intimidating and expensive. Many home cooks assume they’re just fancy gadgets that don’t make much difference. This assumption leads to soggy, pale pizza crusts that never quite match restaurant quality. A baking stone or steel absorbs heat from your oven and mimics the effect of those brick ovens that reach 800+ degrees.
The difference becomes obvious the first time someone uses one properly. Baking steels are even better than traditional stones because they conduct heat more efficiently and don’t crack like ceramic stones sometimes do. Preheating the stone or steel for at least 30 minutes ensures it reaches the right temperature. Even after the oven says it’s ready, the stone needs extra time to fully heat through.
Fresh mozzarella needs proper handling
Fresh mozzarella straight from the package often turns pizza into a watery mess. Those white balls packed in liquid contain way too much moisture for pizza. When heated, all that water releases and creates soggy spots that make the crust limp and unappetizing. Smart home cooks pat the cheese completely dry with paper towels before using it.
Even better, some pizza makers let fresh mozzarella sit on paper towels for 15-20 minutes before cooking. The vacuum-packed mozzarella that comes in logs works better than the water-packed balls because it contains less moisture to begin with. Cubing the cheese instead of slicing it also helps it melt more evenly without creating those annoying rubbery spots that some pizzas develop.
Sauce thickness makes or breaks the pizza
Many home pizza attempts fail because people use pasta sauce instead of proper pizza sauce. Pasta sauce contains too much liquid and often includes chunks that don’t belong on pizza. Real pizza sauce should be thick enough to spread without running off the dough. San Marzano tomatoes crushed by hand with just salt, pepper, and a touch of olive oil create the perfect base.
The key is using less sauce than feels natural. A thin layer that barely covers the dough works better than the thick coating most people apply. Simple sauce preparation involves crushing canned tomatoes by hand right in the bowl, which gives the perfect texture without any cooking required. Too much sauce makes the crust soggy and overwhelms the delicate balance of a true Margherita pizza.
Dough consistency requires the right flour ratio
Pizza dough that springs back constantly or tears when stretched usually has too much flour or hasn’t developed enough gluten. Getting the hydration right takes practice, but the dough should feel slightly tacky without sticking to clean hands. Many recipes call for adding flour until the dough stops being sticky, but this often creates tough, dense crusts that lack the airy texture good pizza needs.
Professional pizza makers know that properly hydrated dough should stretch thin enough to see light through it without tearing. This “windowpane test” shows when the gluten has developed sufficiently. The dough needs to rest and rise properly, doubling in size over about 2 hours. Rushing this process results in dense, chewy crusts that never achieve that perfect crispy-yet-tender texture.
Oven temperature needs to be maxed out
Most home ovens max out around 500-550°F, which seems hot but falls short of ideal pizza temperatures. Real pizzerias use ovens that reach 800-900°F, cooking pizzas in just 2-3 minutes. Home cooks need to compensate by using every trick available to maximize heat. This means cranking the oven to its highest setting and preheating for much longer than normal recipes suggest.
Some creative home cooks use their grill to achieve higher temperatures, especially gas grills that can reach 700-800°F when fully preheated. The broiler trick also works well – finishing the pizza under the broiler for 2-3 minutes creates those characteristic charred spots and bubbling cheese that mark great pizza. Just watch carefully because broilers can burn things in seconds once they get going.
Timing the basil addition prevents burning
Fresh basil leaves turn black and bitter when exposed to high heat for too long. Many home cooks make the mistake of adding basil before baking, which destroys its bright, fresh taste. The leaves shrivel up and lose their vibrant green color, becoming sad, dark spots that taste more like burnt herbs than the aromatic basil that makes Margherita pizza special.
Professional pizza makers add basil after baking, when the pizza comes out of the oven. The residual heat from the hot pizza and melted cheese is enough to release the basil’s oils without destroying its delicate structure. Tearing basil leaves by hand instead of cutting them also prevents bruising and maintains better appearance. Large, torn pieces look more rustic and authentic than finely chopped herbs.
Pizza peel technique prevents sticking disasters
Nothing ruins pizza night faster than dough that sticks to the pizza peel and refuses to slide onto the stone. This usually happens because people use regular flour instead of semolina, or they take too long assembling the pizza. Semolina acts like little ball bearings, allowing the dough to slide smoothly from peel to stone without sticking or tearing.
The trick is working quickly once the dough hits the peel. Assemble the pizza as fast as possible and get it into the oven before moisture from the sauce starts making the dough sticky. Parchment paper provides an excellent backup plan – build the pizza on parchment, then slide it onto the stone and carefully remove the paper after a minute or two. This method virtually guarantees success for beginners.
Multiple pizzas require strategic timing
Making several pizzas for a group creates logistical challenges that many people don’t anticipate. The first pizza comes out perfect and hot, but by the time the second and third pizzas finish cooking, the first one is cold and sad. This timing problem turns what should be a fun group meal into a frustrating experience where everyone eats at different times.
Smart hosts prepare multiple pizzas but stagger the cooking strategically. Keeping finished pizzas warm on a separate baking sheet in the lower part of the oven maintains temperature without overcooking. Another approach involves making smaller individual pizzas that cook faster and can be served immediately to each person. This ensures everyone gets hot, fresh pizza at the same time.
Resting time affects final texture significantly
Cutting into pizza immediately after it comes out of the oven creates a molten cheese disaster that burns mouths and makes a mess. The cheese needs 3-5 minutes to set up properly, and the crust benefits from this brief cooling period too. Impatient cooks who cut too early end up with cheese sliding off everywhere and sauce that’s still bubbling dangerously.
This resting period also allows the crust to finish its final transformation. The bottom continues cooking slightly from residual heat, ensuring it stays crispy instead of getting soggy from trapped steam. Professional timing involves removing the pizza, adding fresh basil and a drizzle of olive oil, then letting it rest on a cutting board before slicing. This patience makes the difference between amateur-looking pizza and restaurant-quality results that actually hold together when eaten.
Making exceptional Margherita pizza at home isn’t about having professional equipment or secret ingredients. Success comes from understanding how heat, moisture, and timing work together to create that perfect balance of crispy crust, melted cheese, and fresh toppings. With these techniques, homemade pizza night becomes something special that rivals the best restaurants in town.
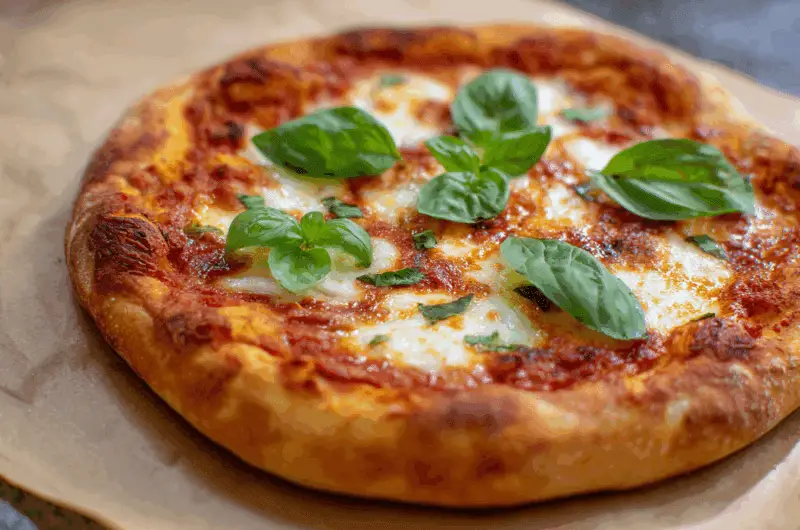
Perfect Homemade Margherita Pizza
Course: Dinner4
servings20
minutes15
minutes375
kcalRestaurant-quality Margherita pizza made in your home oven with crispy crust, perfectly melted cheese, and fresh basil.
Ingredients
2½ cups unbleached all-purpose flour
1 teaspoon granulated sugar
½ teaspoon active dry yeast
¾ teaspoon kosher salt
7 ounces warm water (105°F to 115°F)
1 tablespoon extra virgin olive oil
1 cup crushed San Marzano tomatoes
2-3 fresh garlic cloves, grated
7 ounces fresh mozzarella, cubed
5-6 large fresh basil leaves
2-3 tablespoons grated Parmigiano-Reggiano
Semolina flour for dusting
Directions
- In a medium bowl, whisk together flour, sugar, yeast, and salt. Add warm water and olive oil, stirring with a wooden spoon until dough begins to come together. The mixture will look shaggy at first, but this is normal.
- Transfer dough to a well-floured counter and knead for 3 minutes until smooth and slightly elastic. The dough should be tacky but not sticky. If it sticks to the counter, dust with more flour as needed.
- Place dough in a lightly oiled bowl and cover with a kitchen towel. Let rise in a warm area for 2 hours or until doubled in size. For a warmer environment, heat a cup of water in the microwave for 2-3 minutes, then place the dough bowl inside.
- Place pizza stone on the second-to-top rack and preheat oven to 550°F (or highest setting) for at least 1 hour. Meanwhile, prepare sauce by mixing crushed tomatoes, grated garlic, 1 teaspoon olive oil, salt, and pepper in a small bowl.
- Divide dough into 2 equal portions and let rest 5-10 minutes. Pat fresh mozzarella cubes with paper towels to remove excess moisture. This prevents the pizza from becoming soggy during baking.
- Dust pizza peel generously with semolina flour. Stretch one dough ball into a 10-inch circle using both hands, rotating as you stretch. The dough should be thin enough to see light through it in the center.
- Transfer stretched dough to the prepared peel and brush lightly with olive oil. Spread ½ cup sauce evenly, leaving a ¾-inch border. Sprinkle with Parmigiano-Reggiano, then distribute half the mozzarella cubes evenly over the surface.
- Slide pizza onto hot stone and bake 7-8 minutes until crust is golden and cheese is bubbling. Remove from oven and let rest 3-5 minutes. Tear fresh basil leaves by hand and scatter over hot pizza, then drizzle with olive oil before slicing.
Notes
- A baking steel works even better than a pizza stone for crispier crusts and more even heating
- Semolina flour prevents sticking better than regular flour when transferring to the oven
- Vacuum-packed mozzarella contains less moisture than water-packed varieties and works better for pizza
- Dough can be made up to 24 hours ahead and refrigerated, or frozen for up to 3 months
Frequently Asked Questions
Q: Can I make pizza without a pizza stone or steel?
A: Yes, but the results won’t be as crispy. Use an inverted baking sheet preheated in the oven, or try a cast iron skillet. Some people even use the bottom of the oven directly on the rack, though this requires careful handling.
Q: Why does my pizza dough keep shrinking back when I stretch it?
A: This usually means the gluten is too tight. Let the dough rest for another 10-15 minutes at room temperature, then try stretching again. Cold dough is also harder to stretch, so make sure it’s at room temperature.
Q: Can I use regular mozzarella instead of fresh mozzarella?
A: Regular shredded mozzarella works but creates a different texture and taste. It melts differently and doesn’t have the creamy, milky quality that makes Margherita pizza special. Fresh mozzarella is worth seeking out for authentic results.
Q: How do I know when the pizza is done cooking?
A: Look for a golden-brown crust with slightly charred spots, bubbling cheese that’s starting to brown in places, and edges that sound hollow when tapped. The bottom should be crispy and golden when you lift it with a spatula.
