

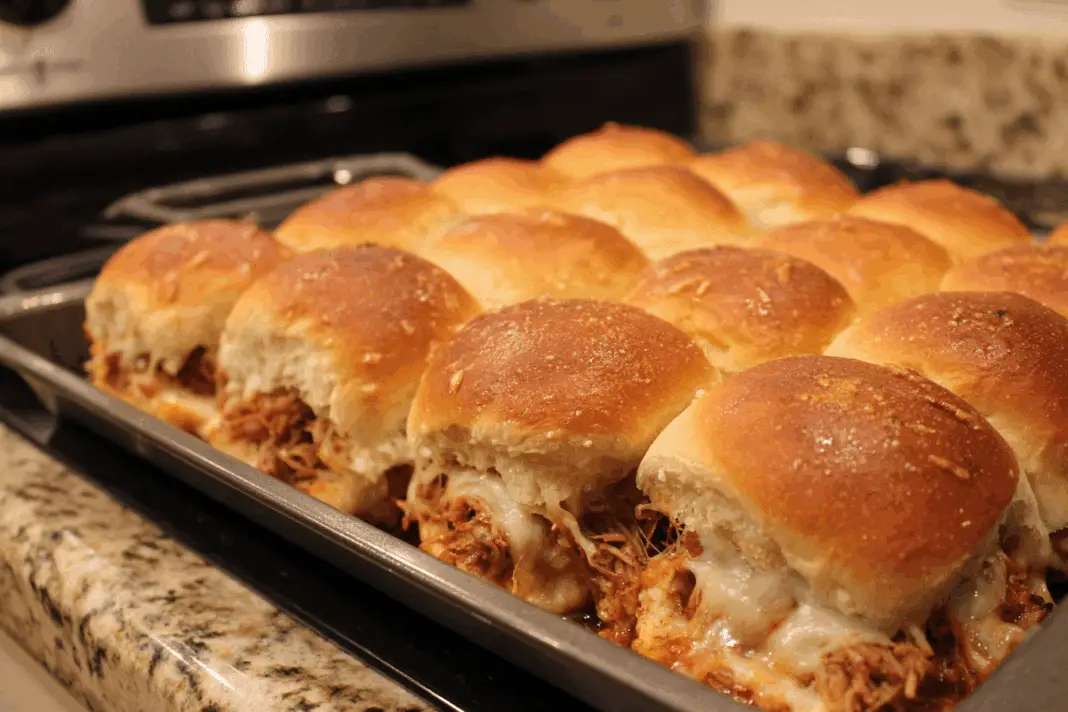
Picture this: it’s game day and everyone’s expecting something amazing from your kitchen. Those fancy appetizers require too many ingredients and complicated steps that’ll leave you stressed instead of enjoying the party. What if there was a way to create crowd-pleasing sliders using just five simple ingredients? These pulled pork sliders combine tender, saucy meat with buttery Hawaiian rolls and melted cheese to create party food that disappears faster than you can say touchdown.
Why Hawaiian rolls make all the difference
Hawaiian sweet rolls aren’t just another bun choice – they’re the secret weapon that transforms ordinary sliders into something special. The slight sweetness balances perfectly with tangy BBQ sauce, while their soft texture soaks up all those delicious meat juices without falling apart. Most importantly, they come pre-connected in packages of 12, which makes slicing and assembly incredibly easy.
When shopping for rolls, look for King’s Hawaiian or similar brands that offer dinner roll sizes rather than hamburger buns. The smaller size creates perfect slider proportions, and keeping them attached during preparation means everything stays aligned. This technique ensures each slider gets equal amounts of filling and prevents the inevitable lopsided sandwich situation that happens when assembling individually.
Getting the perfect pulled pork texture
Store-bought pulled pork works perfectly for these sliders, but texture matters more than most people realize. Large chunks create uneven bites and make the sliders difficult to eat without everything sliding out the sides. The key is chopping the meat into smaller, more manageable pieces before mixing with BBQ sauce.
If using leftover homemade pulled pork, aim for pieces roughly the size of a quarter. This creates better distribution across each slider and prevents that awkward moment when someone bites down and pulls out a huge strand of meat. Properly prepared pork should easily break apart with a fork, making the chopping process quick and simple.
Choosing BBQ sauce that won’t make things soggy
Not all BBQ sauces work equally well for sliders. Thin, vinegar-based sauces might taste great on regular sandwiches, but they’ll turn your slider buns into a soggy mess during the baking process. Thicker, molasses or tomato-based sauces cling better to the meat and create that perfect glossy coating without overwhelming the bread.
Popular thick options include Sweet Baby Ray’s, Bull’s-Eye, or KC Masterpiece. These maintain their consistency during baking while developing a slightly caramelized exterior. The sauce serves double duty here – it flavors the meat and creates a barrier that helps protect the bottom buns from getting too wet. About one cup mixed with the pork provides the right balance of moisture and stickiness.
Why cheese placement matters more than type
Sharp cheddar and gouda are the top cheese choices for these sliders, but where the cheese goes makes a bigger difference than which variety gets chosen. Placing cheese both under and over the meat creates a protective pocket that keeps everything contained while adding richness to every bite.
Pre-sliced cheese works better than shredded for this recipe because it creates distinct layers rather than mixing into the meat. Six slices on the bottom, six on top provides perfect coverage for a dozen sliders. The bottom layer prevents sauce from soaking through while the top layer melts into an appealing golden cover. This layering technique ensures cheese in every bite without overwhelming the other ingredients.
The magic of garlic herb butter
Plain butter on top would work, but garlic herb butter transforms these sliders from good to absolutely irresistible. The garlic adds savory depth while herbs provide freshness that cuts through the rich pork and cheese. Most grocery stores carry pre-made versions, but mixing softened butter with garlic powder and Italian seasoning takes just minutes.
Brushing this mixture generously over the tops and sides serves multiple purposes. It creates that golden, bakery-style appearance everyone loves while adding another layer of taste. The butter also helps any optional Parmesan cheese stick to the surface, creating an even more impressive presentation. Don’t be shy with the butter – pooling at the bottom actually helps crisp up the base of the sliders.
Baking temperature and timing secrets
Getting the timing right separates amazing sliders from disappointing ones. Starting at 350°F allows the cheese to melt and ingredients to warm through without browning too quickly. The initial 10-minute bake without the top buns ensures the bottom layer of cheese melts completely and creates that protective barrier.
Adding the buttered tops and covering with foil for 20 minutes creates a steaming effect that keeps everything moist while the cheese finishes melting. The final 5-10 minutes uncovered develops that perfect golden color on top. This three-stage process might seem complicated, but each step serves a specific purpose in creating the ideal texture and appearance.
Making sliders ahead for stress-free entertaining
Party planning becomes much easier when the main dish can be prepared in advance. These sliders assemble beautifully several hours ahead of time, then go straight from refrigerator to oven when guests arrive. The key is adding the garlic herb butter right before baking rather than letting it sit on top for hours.
Assembled sliders keep well covered in the refrigerator for up to 24 hours before baking. The flavors actually improve as everything melds together, similar to lasagna or casseroles. Just add about 5-10 extra minutes to the covered baking time if starting from cold. This make-ahead capability means spending more time with guests instead of stuck in the kitchen during the party.
Serving size and party planning tips
One package of Hawaiian rolls creates 12 sliders, which typically serves 4-6 people as a main course or 8-10 as an appetizer. For larger gatherings, multiple pans work better than trying to squeeze everything into one oversized dish. This also allows for different variations if some guests prefer extra sauce or different cheese types.
Consider the rest of the menu when planning quantities. If serving substantial sides like mac and cheese or baked beans, people will eat fewer sliders. For slider-focused meals with lighter sides like coleslaw or chips, plan for 2-3 sliders per person. Having one extra pan prepared and frozen provides insurance against unexpected guests or bigger appetites than anticipated.
Storage and reheating without losing quality
Leftover sliders lose their crispy exterior quickly but can still be delicious with proper reheating. The microwave works for quick individual portions, but low oven heat around 300°F for 10-15 minutes covered brings back much of the original texture. Adding a damp paper towel prevents the rolls from drying out completely.
For best results, leftover sliders should be stored in airtight containers in the refrigerator and consumed within 2-3 days. The rolls will soften significantly, but the flavors remain excellent. Consider removing leftover sliders from rolls and using the meat mixture for tacos, nachos, or over baked potatoes – getting multiple meals from one preparation makes the effort even more worthwhile.
These five-ingredient sliders prove that impressive party food doesn’t require complicated recipes or exotic ingredients. With pulled pork, Hawaiian rolls, cheese, BBQ sauce, and garlic herb butter, anyone can create sliders that disappear as fast as they come out of the oven. The combination of sweet rolls, savory meat, and melted cheese creates the kind of comfort food that turns ordinary gatherings into memorable occasions.
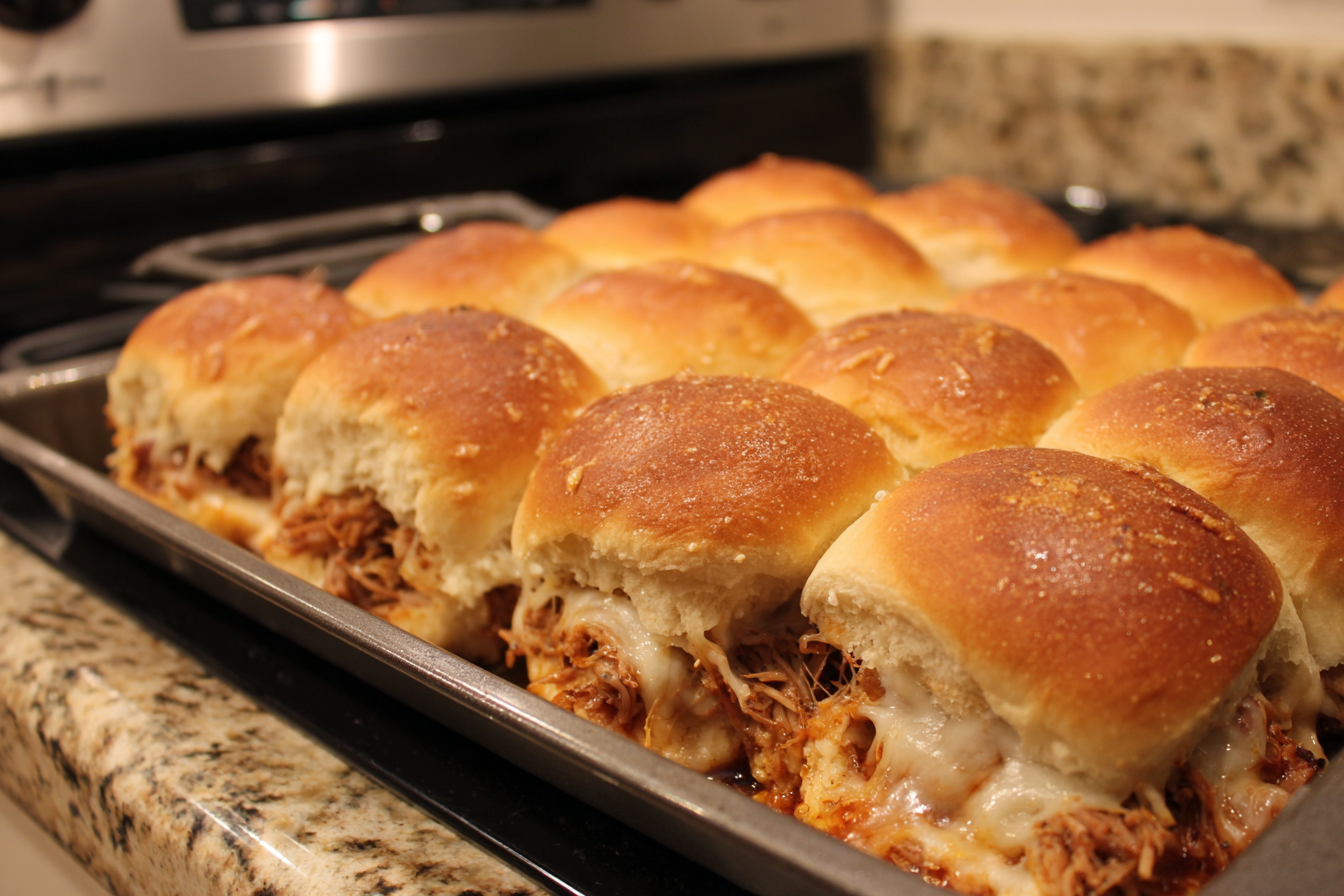
5-Ingredient Pulled Pork Sliders
Course: Lunch, Dinner12
sliders15
minutes35
minutes351
kcalThese buttery, cheesy pulled pork sliders use just 5 ingredients to create party-perfect sandwiches that disappear in minutes.
Ingredients
12 Hawaiian sweet dinner rolls
3 cups shredded pulled pork or chicken, coarsely chopped
1 cup BBQ sauce (thick variety)
1 8-ounce package pre-sliced sharp Cheddar or Gouda cheese (12 slices)
7 tablespoons garlic-herb butter
1 tablespoon grated Parmesan cheese (optional)
Directions
- Preheat oven to 350°F (175°C). Line a 9×13-inch baking dish with parchment paper and lightly grease with cooking spray. This prevents sticking and makes cleanup much easier.
- Slice the entire block of Hawaiian rolls in half horizontally, keeping all individual rolls attached. Place the bottom half in the prepared baking pan. This technique ensures even assembly and prevents individual rolls from shifting during preparation.
- Coarsely chop the pulled pork into bite-sized pieces, roughly the size of quarters. Toss with BBQ sauce in a large bowl until well-coated. The smaller pieces distribute more evenly and prevent large chunks from sliding out when eating.
- Lay 6 slices of cheese over the bottom buns, covering completely. Evenly spread the BBQ pork mixture on top, then add the remaining 6 slices of cheese over the meat. Do not add the top buns yet – this step is crucial for proper melting.
- Bake uncovered for 10 minutes to melt the bottom cheese layer and warm the filling. This creates a protective barrier and ensures the cheese is completely melted before adding the tops.
- Remove from oven and place the top half of the buns over the melted cheese. In a microwave-safe bowl, melt the garlic-herb butter and brush generously over the tops and sides. It’s okay if some pools at the bottom – this creates extra flavor and crispiness.
- Sprinkle with Parmesan cheese if using, then cover the entire pan tightly with foil. Bake for 20 minutes covered to steam and melt everything together. The foil traps moisture while allowing flavors to meld.
- Uncover and bake an additional 5-10 minutes until the tops are golden brown and cheese is fully melted. Serve immediately while hot, cutting between the natural roll divisions to separate individual sliders.
Notes
- For homemade garlic-herb butter, mix 7 tablespoons softened butter with 1 teaspoon garlic powder, 1 teaspoon Italian seasoning, and a pinch of salt and pepper
- Sliders can be assembled up to 24 hours ahead and refrigerated before baking – just add 5-10 extra minutes to covered baking time if starting cold
- Use thick BBQ sauce like Sweet Baby Ray’s or Bull’s-Eye to prevent soggy buns
- Leftover sliders reheat well in a 300°F oven for 10-15 minutes covered with foil
Frequently asked questions
Q: Can I use a different type of roll besides Hawaiian sweet rolls?
A: While Hawaiian rolls work best due to their sweetness and soft texture, you can substitute with potato rolls, brioche slider buns, or regular dinner rolls. Keep them connected during slicing for easier assembly, and choose rolls that are sturdy enough to hold the filling without falling apart.
Q: How far in advance can I make these sliders?
A: You can fully assemble the sliders up to 24 hours before baking and store them covered in the refrigerator. Add the garlic herb butter right before baking rather than letting it sit. If starting from cold, add 5-10 extra minutes to the covered baking time.
Q: What’s the best way to reheat leftover sliders?
A: For best results, reheat leftover sliders in a 300°F oven for 10-15 minutes, covered with foil to prevent drying out. Individual sliders can be microwaved for 30-60 seconds, but they won’t have the same crispy exterior as oven reheating.
Q: Can I make these sliders with chicken instead of pork?
A: Absolutely! Pulled BBQ chicken works just as well as pork in this recipe. Use the same amount (3 cups) and follow the identical preparation steps. Leftover rotisserie chicken mixed with BBQ sauce also makes an excellent substitute when chopped into small pieces.
